COORD3 CMM
(BRIDGE)
THE MOST POPULAR ARCHITECTURE FOR SMALL AND MEDIUM-SIZED CMM.
The moving bridge design of this CMM offers the ideal cost-performance ratio with the undeniable benefit of the worktable integrated into the machine structure, making it the ideal solution for low measurement volumes.
Three moving elements are used in a Bridge-type CMM that moves isostatically along as many tracks that are parallel to one another.
The quill element, which moves vertically with regard to the head element, is where the measuring probe is attached. The latter moves horizontally in relation to the crosshead element, which moves horizontally in relation to the cast iron base plane and is supported by two uprights located at each end.
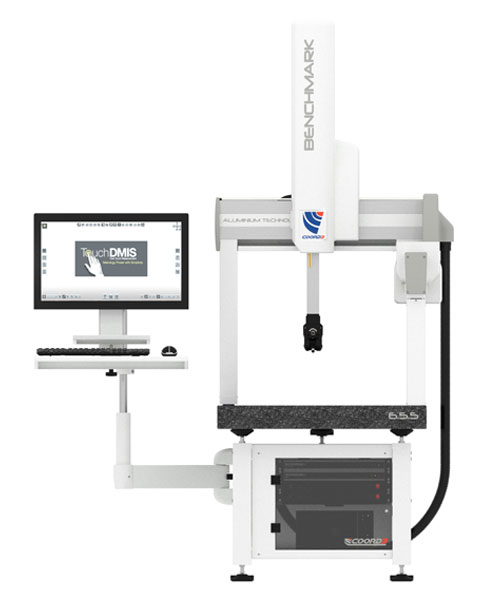
BENCHMARK
High-precision inspection of small and medium-sized parts using an economical high-performance CMM.

The open design of the Benchmark Offers great ergonomic benefits. A Quality control room or a production environment can accommodate its compact size.
A 2.5-micron accuracy is provided by the full BENCHMARK with air bearings. For fully automated inspection applications, a motorized probe head can be added. It comes equipped with a Renishaw touch probe.
Small workshops benefit most from using the BENCHMARK CMM.
Available configurations for the BENCHMARK include manual and CNC. There is the potential for a twostep investment where manual machines can be updated on-site to the full CNC version.
Features & Benefits:
- Platform made of a cutting-edge, strong alloy
- When the temperature changes, the frame experiences rapid thermal diffusion.
- Strong acceleration is made possible through FEA design, which provides the ideal stiffness and moment of inertia.
- Single-piece granite base with several M8 threaded top inserts arranged in a checkerboard pattern.
- Rigid air bearings pneumatic counterweight for the Z-axis
- 0.1 nm resolution scale measurement using dynamic signal processing
- For the best CMM performance, fully digital motion control with probe path fusion is used.
- Hysteresis on all axes of the friction reducers is almost zero.
- System of passive vibration dampening that shield against external vibrations
- Free access to the CMM’s measurement area
- 500 mm (about 1.64 ft)/sec is the maximum positioning speed.
- 1500 mm (about 4.92 ft)/sec2 is the maximum acceleration.
Performance Data:
According to UNI EN ISO 10360, the accuracy of every COORD3 CMM product is tested at the production.
Options Available With Benchmark CMM:
- CMM touch station option for improved ergonomics.
- Dynamic wireless part and machine thermal compensation.
- Pneumatic system for vibration isolation.
- An air dryer.
- Kits for modular part fixtures.
- Modular enclosure for CMM.
- Benchmark CNC upgrade kit for manual use.
Models & Sizes:
The following measuring strokes are available for COORD3 BENCHMARK CMMs: (X | Y | Z mm) | 6.5.4
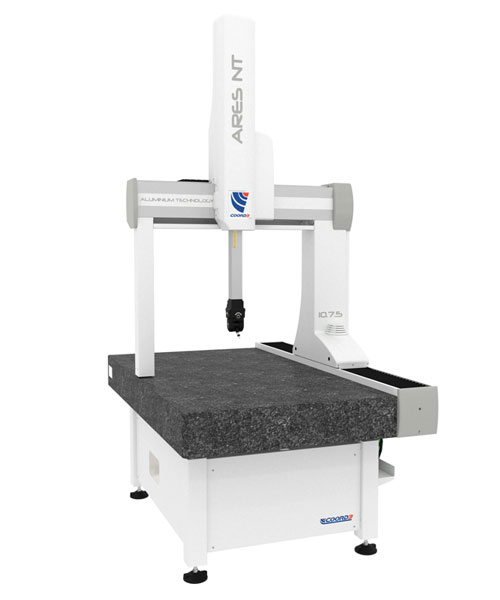
ARES
Strong dimensional inspection performance for metrology applications in various fields.

ARES CMMs are shorter overall than the majority of CMM products on the market. To further lower the overall height by 100 mm (about 3.94 in), a low-profile support stand may also be offered.
ARES is especially well suited for inspection facilities with low ceilings because of this unique characteristic.
ARES CMMs are available in manual or CNC form; eventually, it is optional to upgrade manual units to a fully CNC version.
There are two performance levels available:
ARES: for basic applications.
ARES NT: for performances requiring more. A silicon carbide Z-axis column is a feature of ARES NT that improves the measurement platform’s overall stiffness. The entire suite of scanning technologies from Renishaw are utilized in this exceptional CMM system for high-precision metrology applications.
Features & Benefits:
- Frame made of ultra-rigid alloy for optimal rigidity in scanning applications
- For adaptation to changes in the environment, a structure with quick thermal diffusion
- Bridge girder extrusion with an optimized moment of inertia for minimal deflection at high accelerations was created using FEA.
- Table with M8 threads that fits into the huge checkerboard pattern.
- High bearing clearance coefficient rigid air bearings
- The Z-axis is counterbalanced pneumatically.
- Dynamic signal processing is used with measurement scales of 0.1 micron free-fluctuation resolution.
- For optimum performance, fully digital motion control with probe path fusion is used.
- Hysteresis on all axes of the friction reducers is almost zero.
- External vibrations are isolated by a passive vibration dampening device.
- The measurement space is open to all sides.
- 517 mm (about 1.7 ft)/sec maximum positioning speed
- 1730 mm (about 5.68 ft)/sec2 is the maximum acceleration.
Performance Data:
According to the UNI EN ISO 10360 standard, the accuracy of every Coord3 CMM product is tested at the factory.
Options Available With Ares CMM
- Laser sensor for scanning
- Machine and component components wireless dynamic thermal compensation
- System for pneumatically isolating vibration
- Kit for modular parts locking
Models & Sizes:
There are COORD3 ARES CMMs available with the X, Y, and Z measurement strokes listed as: 7.7.5 / 10.7.5 / 12.7.5 7.7.7 / 10.7.7 / 12.7.7
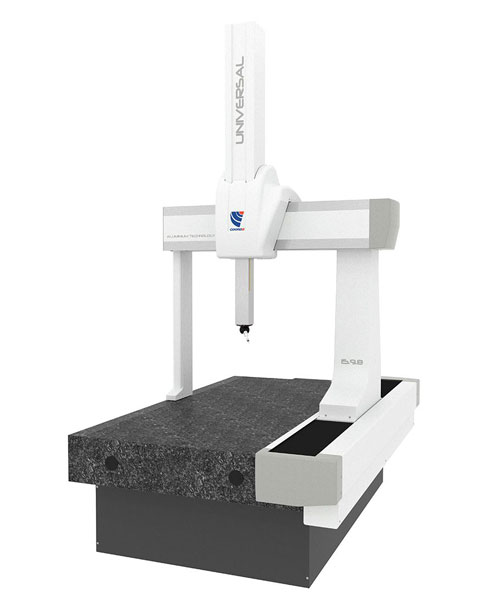
UNIVERSAL
The universal family represents the latest generation of CMMS.

Ideal for both conventional point-to-point measurements and more sophisticated contact and laser scanning cycles. The UNIVERSAL series’ outstanding structural stability makes it especially well-suited for use with 5-axis scanning systems and for measuring gears and gear wheels.
The characteristics are specifically made to ease construction, cut down on expenses, and shorten maintenance times.
For the first time on the market, the COORD3 UNIVERSAL series combines wireless technology and the automated temperature correction system. The fully autonomous system dynamically corrects mistakes brought on by variations in the 16–26°C temperature range of the surrounding environment.
Additionally, distortions brought on by the deformation of the primary structure are prevented by using high-resolution optical scales (0.1 m) that are not attached to the substrate.
The UNIVERSAL series can be fitted with an environmental monitoring system to enable the installation of a CMM with excellent dynamic performance in production environments.
Features & Benefits:
- Mechanically extremely stiff for maximum scanning accuracy.
- Structure that reacts quickly to temperature changes in the surroundings.
- Extruded aluminum alloy cross member was designed with CAD/FEA assistance to reduce inertial effects at maximum dynamics.
- Granite support surface that is one solid piece with a built-in slide rail.
- M8 hole grid for mounting devices to a support surface.
- Sliding system with ultra-rigid isostatic support on all measuring axes on pneumostatic pads.
- Pneumatic balance on the Z-axis.
- Dynamic signal processing and high-resolution (0.1 micron) carrier-scrolling optical scales.
- System for digital trajectory control to enhance metrological performance.
- Toothed belt driving system without hysteresis on all axes.
- Passive system for isolating ambient vibration.
- The measuring volume is easily accessible.
- 866mm (about 2.84 ft)/sec for vector positioning speed.
- Up to 1500 mm (about 4.92 ft)/sec2 in vector acceleration.
Performance Data:
Each COORD3 CMM is tested in the factory in accordance with UNI EN ISO 10360.
Options Available With Universal CMM
- Automatic temperature compensation for many probes
- Volumetric scanners are part of an active security system.
- Active vibration reduction system
- Dryer
- Modular system of equipment
- Portable booth for protection
Models & Sizes:
These measurement strokes (Y.Z mm) are available for COORD3 UNIVERSAL CMMs: 7.7/9.8/10.8/10.10/12.10/15.10/15.13
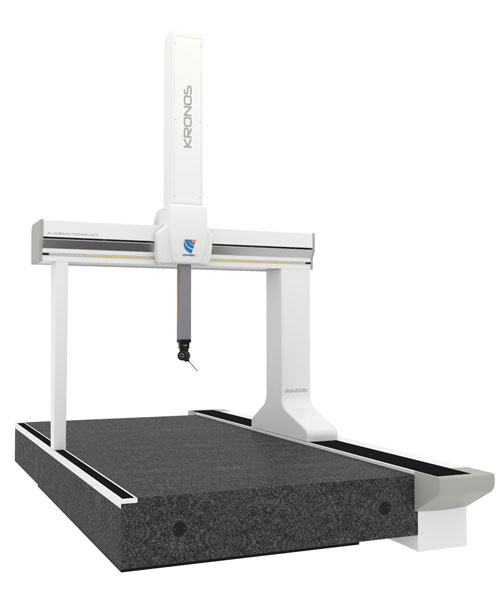
KRONOS
Bridge CMMS is used to measure large mechanical parts without the need for specific foundations.

Bridge CMMs are used to measure large mechanical parts without the use of custom-built foundations.
The KRONOS series can function in a variety of production conditions, from metrology rooms to manufacturing areas, thanks to its sturdy structure and protection system of covers and bellows.
This CMM has a portable lever unit for manual control of motorized motions.
The NT version of the KRONOS is also offered; it comes with a cutting-edge silicon carbide ram for improved metrological performance.
Features & Benefits:
- A moving carriage frame made of aluminum alloy with a granite top.
- Generous sized Z spindle constructed of Silicon Carbide (NT) or a light aluminum alloy.
- Drive system using a combination of a rack-and-pinion and a hysteresis-free clutch for fluid and consistent motion.
- High-resolution linear transducers for measurements (0.1 m).
- Automatic temperature compensation system with many sensors and a part temperature probe.
Probes & Measuring Heads:
- Manual Heads: Indexable MIH, MH20, and MH20i Heads with motors: PH10T, PH10M, and PH10MQ
- Touchers for point-to-point: TP2, TP20, and TP200
- SP25 scanning analog keyer for analog keyers
- Metris LC/XC family laser sensors, including the qualifying sphere
- Automatic changing stations for probe and tip systems
Performance Data:
According to the UNI EN ISO 10360 standard, the accuracy of every Coord3 CMM product is tested at the factory.
Options Available With Kronos CMM
- System for passive antivibration
- AVM, or an active vibration dampening system
- Multiple wire wiring
- Pallet loading/unloading mechanism that is manual or automatic
- Training for PCs and printers at Coord3 centers or agents
- Installation by Coord3 personnel or representatives
Models & Sizes:
These measuring strokes (Y.Z mm) are available for COORD3 KRONOS CMMs: 13.10/15.13/20.15
