COORD3 CMM
(GANTRY)
COORDINATE MEASURING MACHINES FOR LARGE PARTS
Achieving excellent metrological performance even with large measurement volumes is made possible by the column architecture of this CMM, which also provides full access to the operator’s work volume for programming activities and loading/unloading operations.
Three moving elements are used in a CMM of the gantry type, and they move along as many perpendicular guideways as possible using pneumostatic bearings.
The quill element, which moves vertically with relation to the head element, is where the touch probe is attached. In relation to the crosshead element, which in turn moves horizontally with respect to the machine plane, the latter does the same. The crossmember is moved along two guides known as stringers that are situated far above the machine plane by a pinion-rack arrangement. These rails are supported by a colonnade system, which uses leaf springs to relieve their longitudinal expansion.
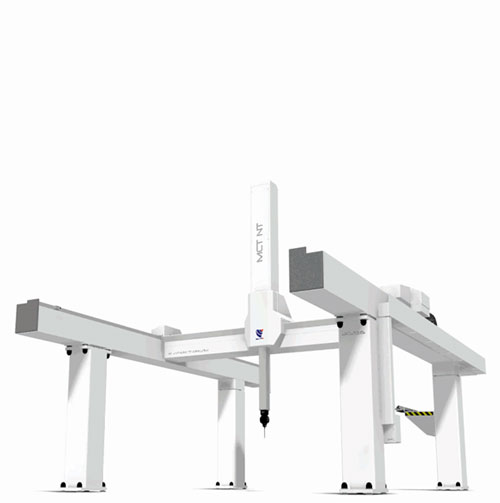
MCT NT
THE NEW GANTRY SERIES USING THE MOST MODERN TECHNOLOGIES

The innovative mechanical design of the MCT NT Series ensures that metrological performance is maintained throughout time while lowering the cost of periodic calibrations.
The MCT NT may also be ordered in the NT LIGHT configuration, which includes an x-axis “Single Read” system and a light aluminum alloy Z spindle.
Features & Benefits:
- Aluminum alloy is used for the main crossbar’s small weight, high stiffness, and little moving mass.
- Z-spindle made of silicon carbide: this material provides the best stiffness and thermal stability results.
- Multi-sensor system for automated correction of structural component thermal expansion faults.
- Excellent metrological performance may be maintained up to cross sections of 2500 x 1800 mm (about 5.91 ft) Spars (X-axis) with regulated expansion thanks to the “Dual Read” technology on both X-spars.
- High resolution free expansion optical lines (0.1 m)
- On the primary moveable structure (X/Y axis), a full fairing and bellows system may be installed.
Performance Data:
According to the UNI EN ISO 10360 standard, the accuracy of every Coord3 CMM product is checked at the factory.
Options Available With MCT NT CMM
- Multiwire cables.
- System for manually or automatically loading and unloading pallets.
- Laptop and printer
- Coord3 Centers or resellers for training
- Installation performed by Coord3 staff or resellers
Models & Sizes:
The following measurement strokes (Y.Z mm) for COORD3 MCT NT CMMs are available: 20.10/20.15/25.18
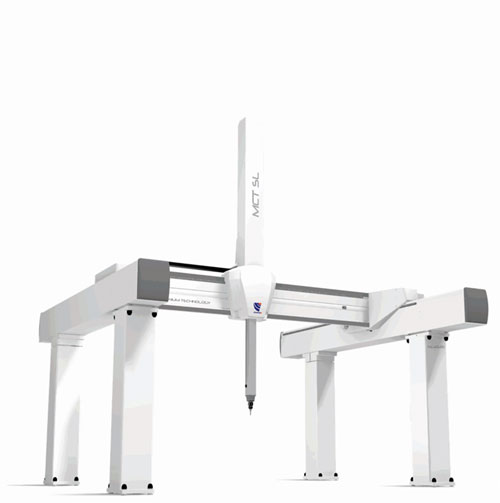
MCT STARLIGHT
THE MEDIUM/LARGE PILLAR CMM, OPTIMAL FOR ALL REQUIREMENTS AND WITH STRUCTURAL RIGIDITY.

THE MEDIUM TO LARGE GANTRY CMMS OFFERED BY THE MCT SL SERIES ARE NOTED FOR THEIR EXCELLENT STRUCTURAL STABILITY AND ADAPTABILITY.
They come in a variety of sizes and may be adjusted to meet the needs of any measuring application.
The MCT StarLight is also offered in NT format, or as a CMM with an x-axis “Single Read” system and a light aluminum alloy Z spindle.
Features & Benefits:
- Large pad spacing for the best mechanical stiffness
- Y main crossbar with high stiffness and distinctive tubular steel design
- Extruded aluminum alloy Z spindle offers stiffness and reduces moment of inertia.
- Big cross-sectional steel stabilized X-beams with a support system that permits linear expansion without causing deformation
- Ground X/Y axis slideways made of high-strength epoxy resin (roughness: 0.4 mm)
- High-resolution (0.1 m) linear transducers are used in the measuring system, together with a “Dual Reader” system on the longitudinal X axis and a “Dual Drive” system on the same axis (optional, standard for Y=3000 stroke).
- Multi-sensor system for automated correction of structural component thermal expansion faults.
Performance Data:
According to the UNI EN ISO 10360 standard, the accuracy of every Coord3 CMM product is checked at the factory.
Options Available With MCT STARLIGHT CMM
- Multiple Wire Wiring
Models & Sizes:
These measurement strokes (Y.Z mm) are available for COORD3 MCT STARLIGHT CMMs: 20.20/25.18/25.20/30.20/30.25
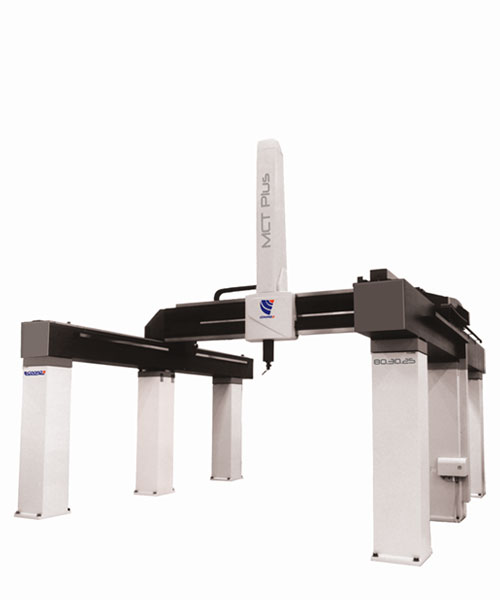
MCT PLUS
THE WIDE-RANGE CMM CREATED FOR INDUSTRIAL WORKSHOP SETTINGS.

THE LINE OF LARGE PILLAR CMMS FOR INDUSTRIAL METROLOGY APPLICATIONS IS CALLED MCT PLUS.
Excellent metrological performance is achieved because to the unique construction structure, “Dual Drive” and “Dual Read” drive system on the stringers, which limits structural deformation during movement.
GANTRY MCT PLUS systems stand out in inspections of big components, including rotors and parts for nuclear and thermal power plants, wind turbine components, structures used in aviation, marine engines, and marine gearboxes.
Features & Benefits:
- Large pad spacing for the best mechanical stiffness
- X-beams with a high cross-sectional area constructed of stabilized steel and fitted with support systems on the abutments that enable linear expansion without stress and induced deformation. Y-axes with pinion/rack drive system for efficient movement of major axes.
- High-resolution (0.1 m) linear transducers and a “Dual Reader” and “Dual Drive” system are used in this measurement system.
- Multi-sensor system for automated correction of structural component thermal expansion faults.
Performance Data:
Each COORD3 CMM is put through UNI EN ISO 10360 testing requirements.
Models & Sizes:
There are COORD3 MCT PLUS CMMs with the following measuring strokes (Y.Z mm) available: 20.20 / 25.18 / 25.20 / 30.20 / 30.25

