COORD3 CMM
(HORIZONTAL)
THE BEST WAY TO MEASURE COMPONENTS WITH THIN WALLS.
CMMs with horizontal arm architecture is ideal for measuring parts like automotive body panels, doors, car windows, dashboards, and dimensional inspection of mechanical parts like engine blocks, gearboxes, castings, automotive and aerospace components.
Three moveable components are used in a CMM’s horizontal arm, and they move along as many guides that are perpendicular to one another.
The quill element, which moves horizontally with relation to the carriage element, is where the touch probe is connected. The latter is translated horizontally with respect to the machine plane and vertically with respect to the column element.
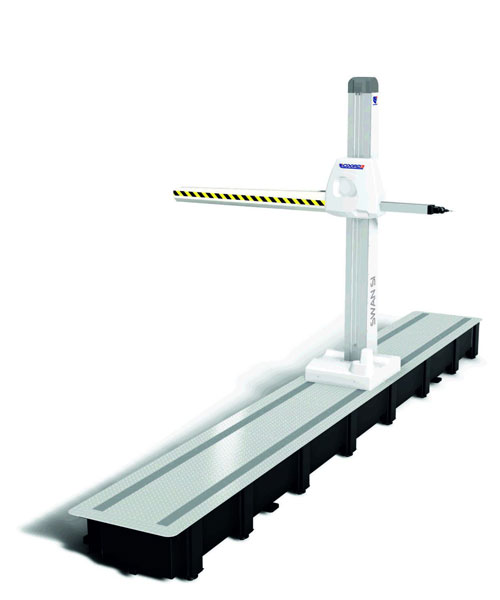
SWAN SI
"RUNWAY" ARCHITECTURE: HORIZONTAL ARM MEASUREMENT SYSTEM WITH LONGITUDINAL X GUIDE FIXED TO THE GROUND

A technologically advanced and efficient solution for the dimensional inspection of thin-walled sheet metal or plastic components usually found in the automotive industry is provided by the SWAN SI series.
Air bearings on the X- and Z-axes of SWAN SI CMMs provide a high-performance, high-precision outcome. On the side of the cast iron or granite support surface is where you’ll find the X-axis guide.
Reliability, accuracy, and speed of measurement are ensured by the strong moving carriage maden completely of light aluminum alloy and its twin mechanical guideway system with recirculating ball bearings on the X spar.
Without the requirement for a special machine base, the SWAN SI may be placed on a pneumatic vibration isolation system for usage in industrial environments.
Features & Benefits:
- System for Measuring Using Linear Optical Transducers
- Servo motors are used to control motion.
- Precision X axis steering is provided by D.C. sliding guides with air bearings on the Y and Z axes.
- Balance of the head mechanically using a safety brake.
Performance Data:
To ensure accuracy, all COORD3 CMM products undergo factory testing in accordance with UNI EN ISO 10360.
Options Available With SWAN SI CMM
- Granite or cast-iron countertops
Models & Sizes:
These measurement strokes (Y.Z mm) are available for COORD3 SWAN SI CMMs:
10.12 /10.15/10.18 /10.20
12.15 /12.18 /12.20
15.15 /15.18 /15.20
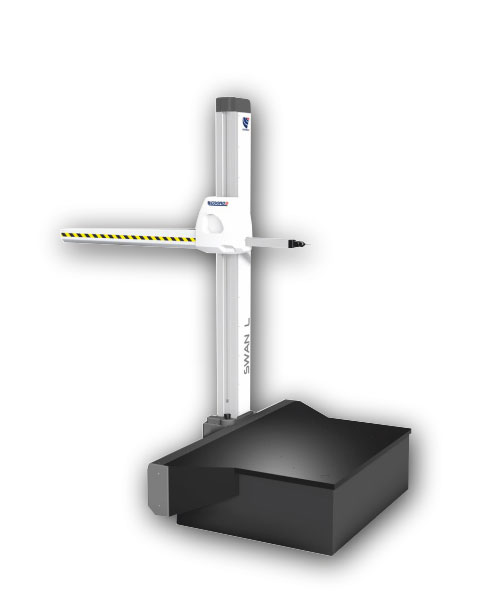
SWAN L
"CONSOLE" ARCHITECTURE: HORIZONTAL ARM MEASURING SYSTEM WITH LONGITUDINAL X GUIDE FIXED TO THE SIDE OF THE WORK SURFACE.

The SWAN L series of CMMs allow the machine to be installed flush with the factory floor due to a horizontal arm installed on rails (tracks).
Large, heavy pieces that are either lying on a different level or on an automated system or groundmounted system can be controlled by its floor-mounted rail covers.
The versatility and programmability typical of CMMs are offered along with the quickness and userfriendliness of conventional measuring gauges by “console” systems with integrated workpiece tables.
Features & Benefits:
- Linear optical transducers for a measuring system.
- Motion control using D.C. servo motors.
- Sliding guides with axis-mounted air bearings.
- Head balancing of the mechanical variety with a safety brake.
Performance Data:
Each COORD3 CMM is put through UNI EN ISO 10360 testing requirements.
Options Available With SWAN L CMM
- Surface made of cast iron
- Thermal linear compensation
Models & Sizes:
It is possible to purchase COORD3 SWAN L CMMs with the following measuring strokes (Y.Z mm):
12.15 / 12.18 / 12.20 15.15 / 15.18 / 15.20
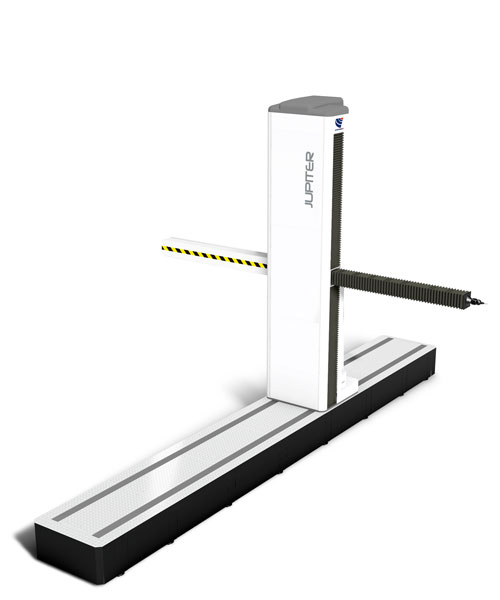
JUPITER
HORIZONTAL ARM MEASURING SYSTEM WITH A SHROUDED MOVING ARM AND A LONGITUDINAL X GUIDEWAY FIXED TO THE GROUND (THE "RUNWAY" ARCHITECTURE).

The JUPITER was designed exclusively for body and subassembly inspection applications and is a reliable high-performance CMM for direct use in manufacturing.
The JUPITER CMM has a track design and comes with a single or double arm. It is completely enclosed to offer thermal insulation against climatic fluctuations and incorporates defense against contamination from the work floor.
Maximum accessibility to the measuring area is ensured by the open recessed structure, walking guards guarding the X-slide, and completely fairing construction. These features also make loading/unloading operations simpler and permit usage directly in production areas.
This CMM, which can be mounted flush with the factory floor and comes with floor guide liners as standard equipment, stands out for its high dynamics and outstanding accuracy.
One of the essential components of a high-performance measuring system is air bearings for the Y and Z axes. The measuring volumes of the two horizontal arms in the double-arm arrangement overlap by 100 mm (about 3.94 in) to allow for thorough measurements of the whole structure.
Features & Benefits:
- Linear optical transducers for a measuring system.
- D.C. servo motors are used to regulate motion.
- Slideways with recirculating ball bearings on the X axis and air bearings on the Y and Z axes.
- Head balancing of the mechanical variety with a safety brake.
Performance Data:
Each COORD3 CMM is put through UNI EN ISO 10360 testing requirements.
Options Available With JUPITER CMM
- Granite or cast-iron countertops
- Thermal linear compensation
Models & Sizes:
There are JUPITER COORD3 CMMs with the following measuring strokes (Y.Z mm) available:
14.20 / 14.25 / 14.30/ 16.20 / 16.25 / 16.30
