METROLOGY SOFTWARE
TOUCHDMIS
NEW - ERGONOMICS AND SIMPLICITY IN MEASUREMENT METROLOGY POWERED WITH A TOUCH OF SIMPLICITY
The full-featured dimensional metrology program TouchDMIS was created to provide the best possible user-experience.
The current touch functionality that the CMM operators were lacking is now available in the metrology business thanks to TouchDMIS’ novel and distinctive user interface, which abandons the outdated Windows design.
TouchDMIS is simple and ready to use; all that is required for successful and efficient use is a few hours of training.
FEATURES & BENEFITES
THE FULL-TOUCH EXPERIENCE
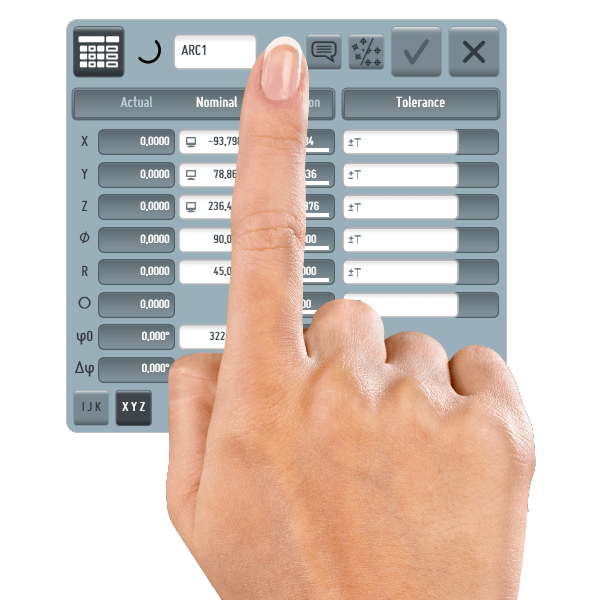
To give users a new metrology software experience—touch and simplicity—the TouchDMIS interface was created. The user interface has been designed to maximize efficiency for both beginning and seasoned CMMs users.
To make the most of the key functionalities that are readily available across a few numbers of always accessible Function Buttons, TouchDMIS employs floating toolbars and through-view windows. Coordinate metrology has arrived at its future. Feel it!
THE KEY: TIME TO REPORT
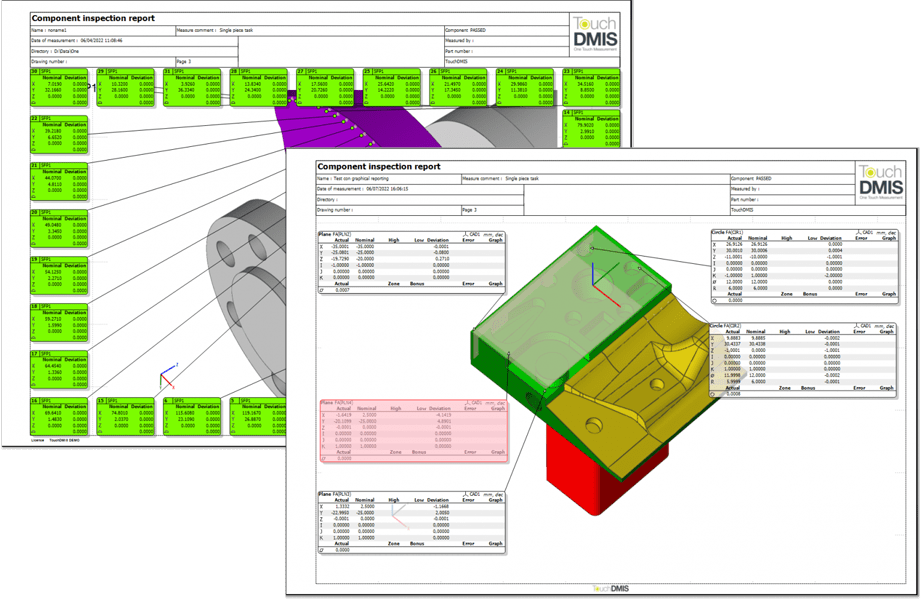
Time management and quick and simple inspection findings are essential for the CMM to be effective.
With TouchDMIS, the time to report is reduced to a level that has never been reached; the inspection report is actually ready and available in a matter of few taps.
GET THE FULL POTENTIAL OF THE PH20 5-AXIS TOUCH TRIGGER SYSTEM
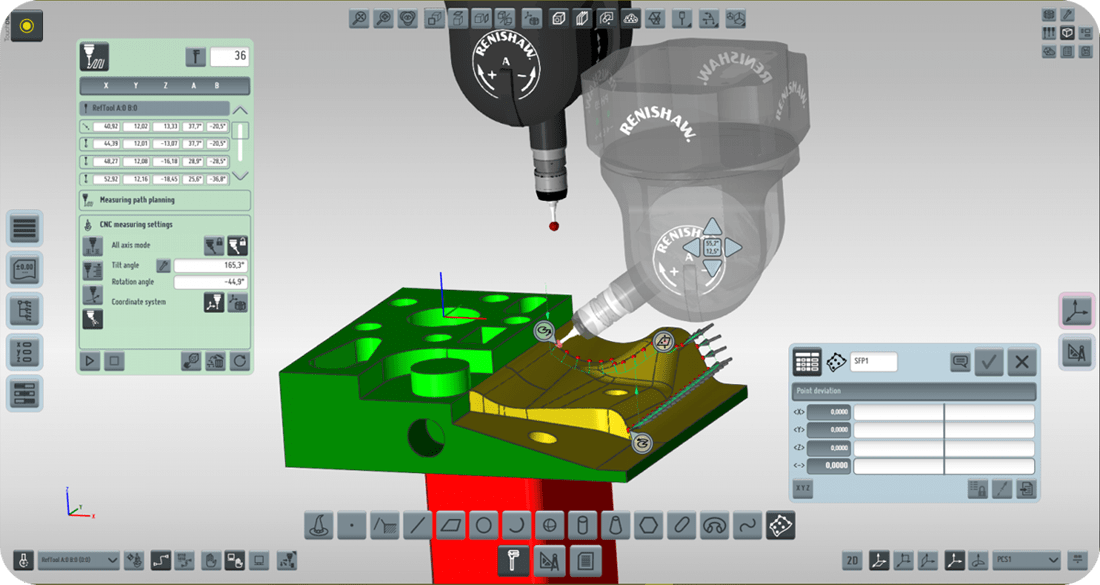
The PH20 head may be utilized for a range of applications, including the automotive, aerospace, and medical sectors. It enables the measurement of big and complicated parts with great precision.
The PH20 head’s capacity to boost measurement effectiveness and speed is one of its key benefits. The head has high-speed scanning technology that can quickly and efficiently gather enormous volumes of data. This allows for the most efficient inspection possible since metrology workers may finish their measurements more quickly and move on to other responsibilities.
The PH20 head also increases measuring accuracy. Its high-resolution scanning technique is capable of capturing minor surface texture changes and tiny details. This implies that even when working with intricate and irregular forms, metrology operators may have faith in the precision of their measurements.
To accommodate various measuring requirements, the head may also be modified with various probes and scanning modes. Since the same head may be used for a range of applications, metrology operators can utilize it to meet their measurement demands at a reasonable price.
INSPECTIONS HAVE NEVER BEEN EASIER WITH TOUCHDMIS
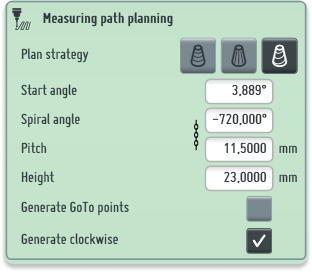
Simply choose the feature you wish to measure, and TouchDMIS will figure out the ideal measurement path on its own.
Once you’ve chosen a feature, the measuring route window will provide all of your options, including edge plan, zigzag plan, and circular plan.
Alternatively, you may use the touch-and-drag option to quickly alter your measurement path. Rapidly and simply expand, add, or exclude a point.
Prior to running the inspection component program, all measurements may be simulated off-line in the Result window.
CONTINUOUS SCANNING
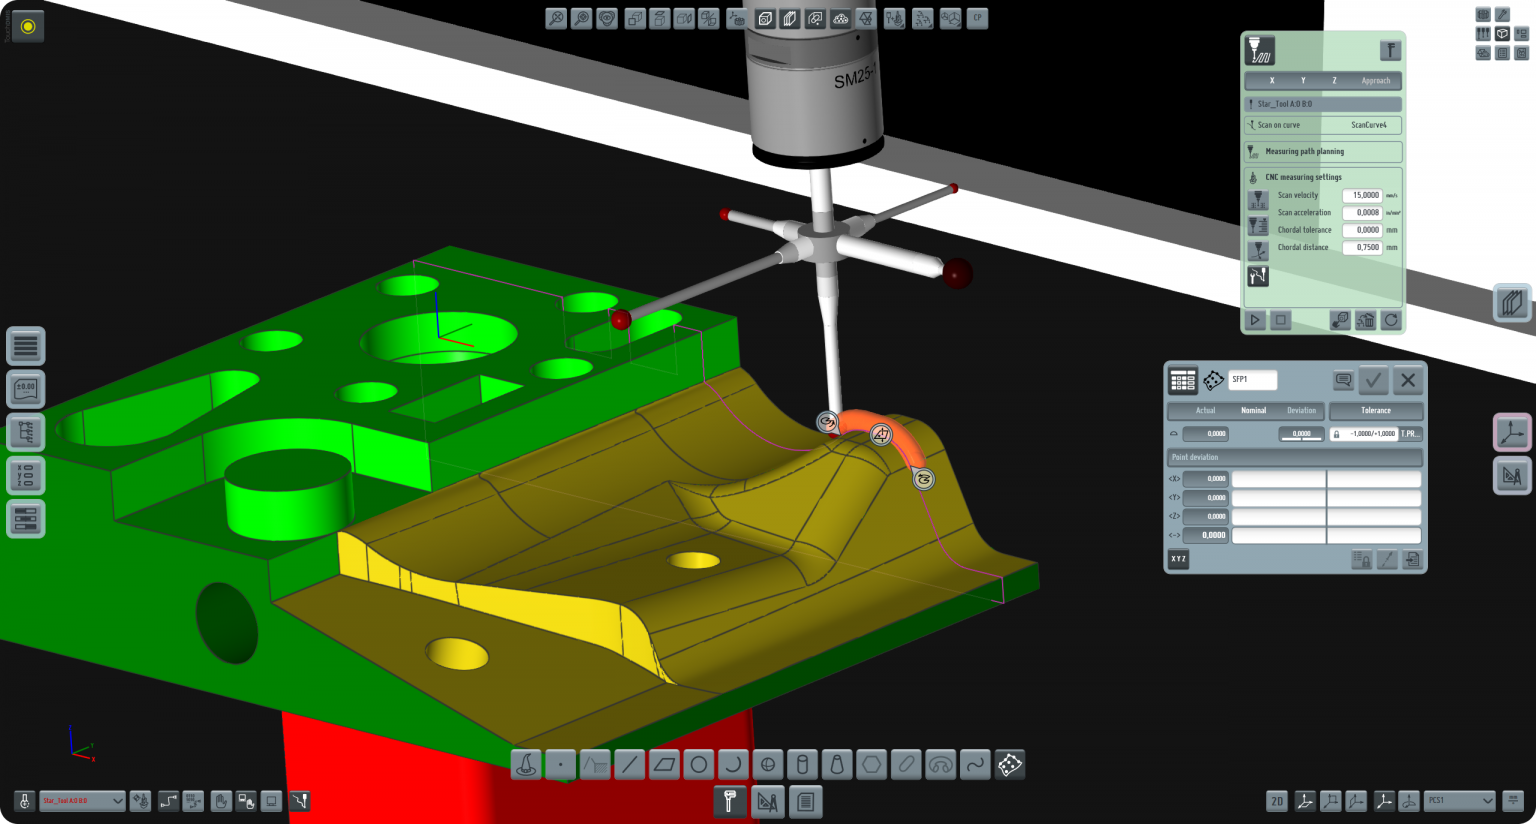
On Renishaw controllers with scanning capabilities, TouchDMIS enables continuous scanning with SP25 or SP80 utilizing UCC Server.
To set the scanning settings, just touch on the feature after choosing the SP25 or SP80 from the tools list.
TOUCH PROBE MANAGER
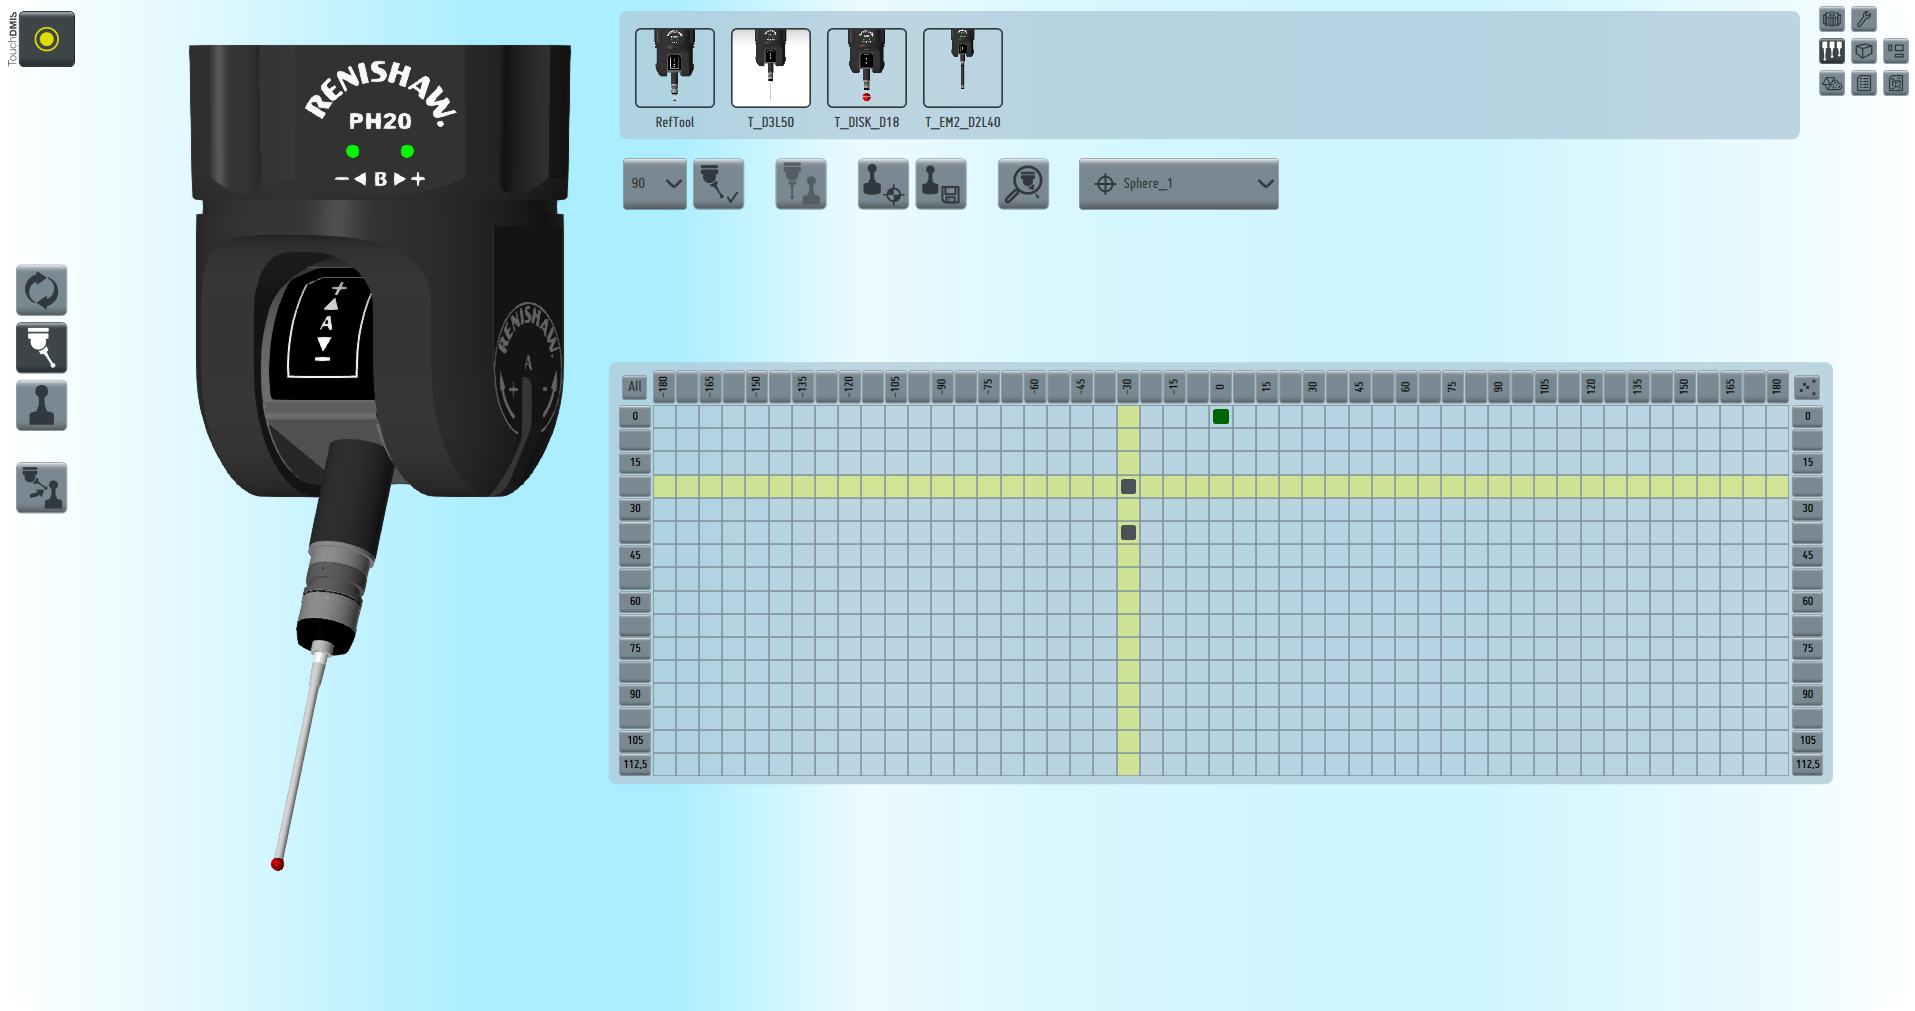
You can rapidly setup and calibrate your probes with only a touch of your finger thanks to TouchDMIS’s user-friendly and intuitive Touch Probe Manager!
The measurement heads and probes are supported by Touch Probe Manager:
SP25 SP80, PH20, TP20, TP200, TP2, TP6, PH10M, PH10T, and PH20
