Inspection Manager Enterprise Quality Management System
Standard room and Shopfloor Inspection Data Collection
Are you dissatisfied with your existing manual data gathering method? Do you have a habit of misplacing data on pieces of paper? Are you tired of having to create your reports using different spreadsheets?
Learn how to turn your frustrations with data collection on the shop floor into useful, real-time data when you need it! Inspection Manager, an integrated industrial quality management software based on the High QA platform, can help you do it right.
DATA
COLLECTION
Automatically Import Inspection Results
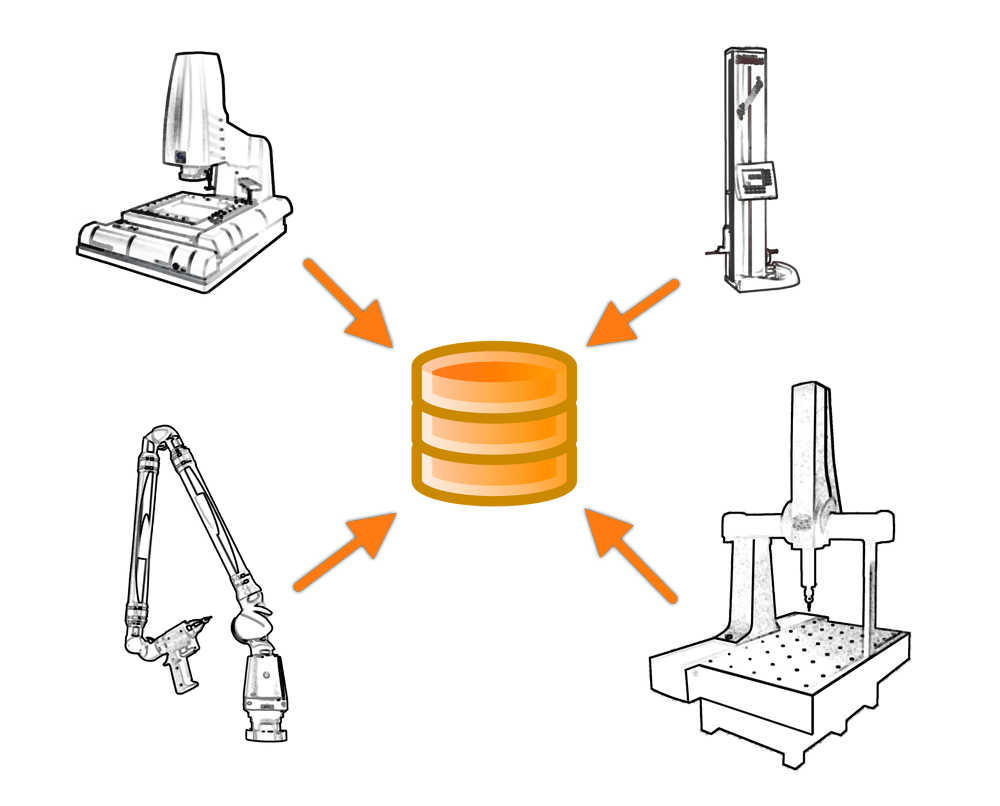
Inspection manager enables automatic collection of data from machines with a systematic data structure such as CMMs, VMMs, Surface roughness testers, Height masters, etc and connects directly with WiFi and Bluetooth enabled first principle gauges such as Vernier Callipers, Micrometres etc
Inspection Manager enables data collection from CMMs, VMMs, and other machines regardless of their brands. It supports multiple output formats such as, .DAT, .XML etc for Importing Inspection Information directly into the database
The results automatically imported from the machines will show color-coded Inspection Results in real-time. These results will then be automatically compiled into reports with both the nominals and the actuals with deviations. Automatic mail alerts will be generated by the system if the dimension goes out of tolerance limit with full traceability of the part number, job number, sample number, user who inspected the part etc

Automated SPC with Realtime Analysis and Alerts
SPC is the need of manufacturing organizations especially producing parts above a certain volume. Many organizations use Excel or Separate SPC software for analysis. How Inspection Manager differs and adds more value than these solutions is that Inspection Manger has an integrated live SPC, as soon as the inspection is done on the shopfloor, the results will be live updated in the software without any delay or need of transferring information from one software to the other
Not only can SPC be done for the Finished dimensions, it can also be done for In-Process dimensions. The data would be instantly transferred to the Central Database where it will receive the nominals and tolerances against which the actual graph would be automatically plotted
SHOP FLOOR DATA COLLECTION AND NCR
Understanding a process requires collecting inspection data on the shop floor in real time. Visual assurance of process quality is provided by making that data available in an easy-to-read dashboard. The mobile solutions High QA IM Explorer and High QA IM express are designed to automate the inspection process.
Tablet or Desktop Kiosk based High QA IM Explorer and High QA IM express provide access to the ballooned drawing, a wizard-like step-by-step guide with predefined measurement tasks, and visual instructions for completing the measurement process. Inspection plans from High QA Inspection Manager define the inspection requirements using a centralized database for accurate, consistent information and real-time non-conformance reports.
High QA Inspection Manager, High QA IM Explorer, and High QA IM express are all part of High QA’s Comprehensive Manufacturing Quality Management System, which is designed to function together effortlessly. While High QA IM express is used to acquire inspection data from pre-assigned projects and jobs, High QA IM Explorer provides users with access to a broader range of data from the High QA Inspection Manager central database.
ONE-CLICK REPORT GENERATION
Using the data of nominals, actuals, deviations etc, Inspection manager’s Integrated report designer generates a number of standard as well as custom reports automatically. Be it an AS9102 template FAI report for the aerospace industry or multi-sample inspection report for the automotive Industry, many reports can be easily designed in the software by the user of the software himself. Formulas and Unique Page layouts can also be added in these reports.
